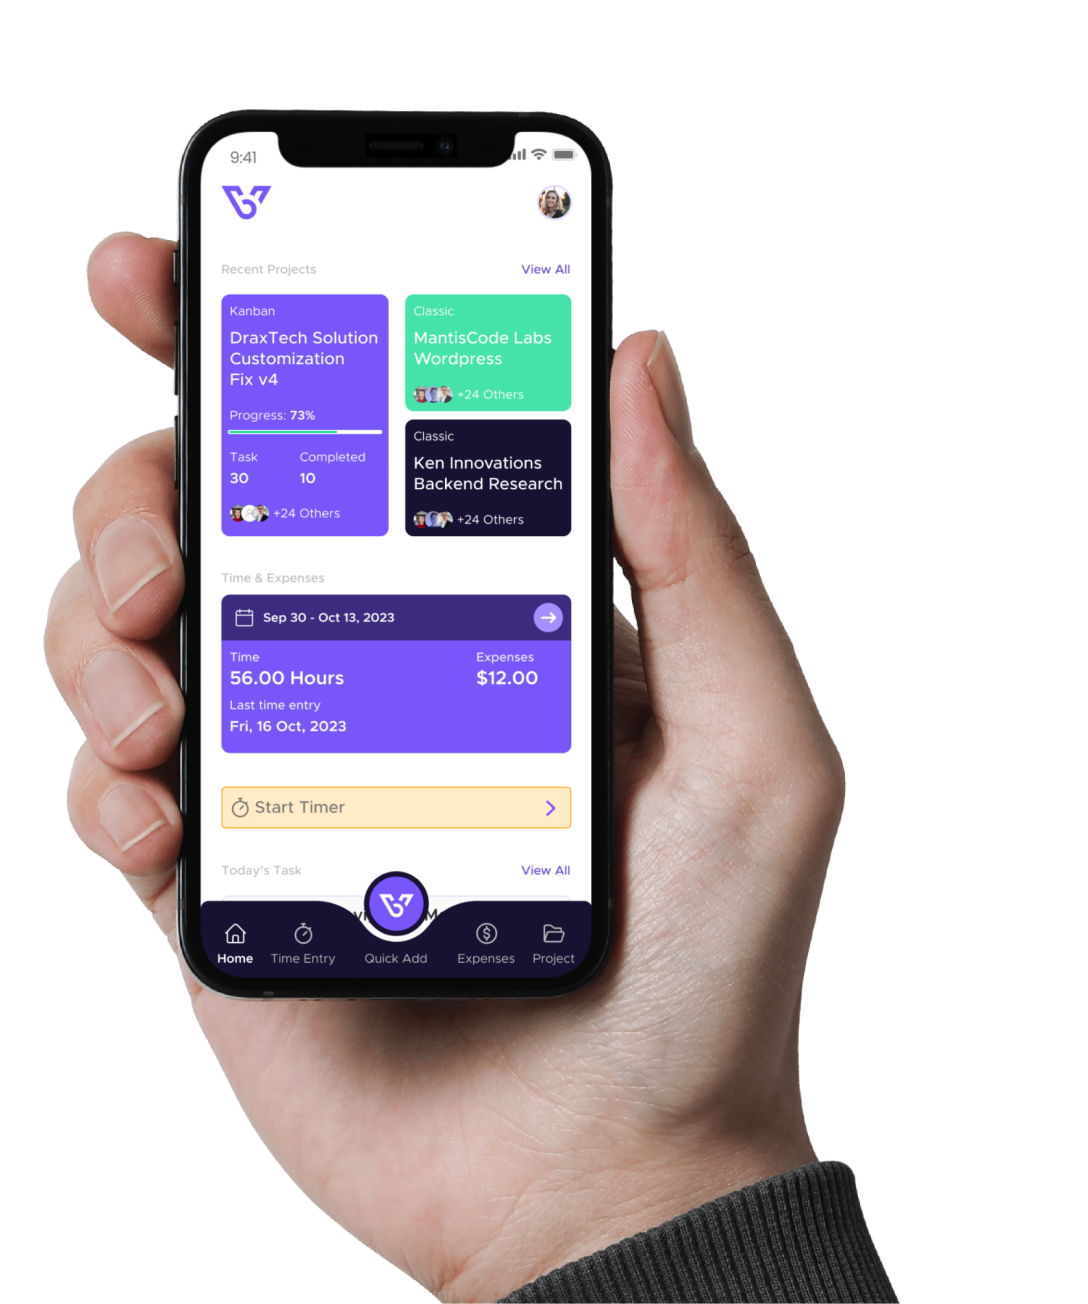
Time Forecasts
This article will help you navigate through the features and functionalities of Time Forecasts in BizVue.
Getting Started with BizVue
1. Log In:
Once you log in, you will be directed to the BizVue home page. The home page displays a dashboard that gives you an overview of the app’s core features. The navigation menu is located on the left side of the screen.
2. Access Time Forecasts:
- Click on your profile picture at the bottom left and then select Time Forecasts.
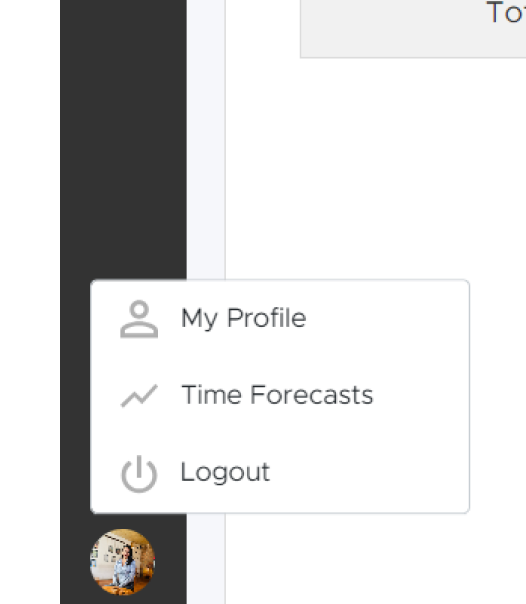
Steps to Create a Time Projection in Time Forecasts
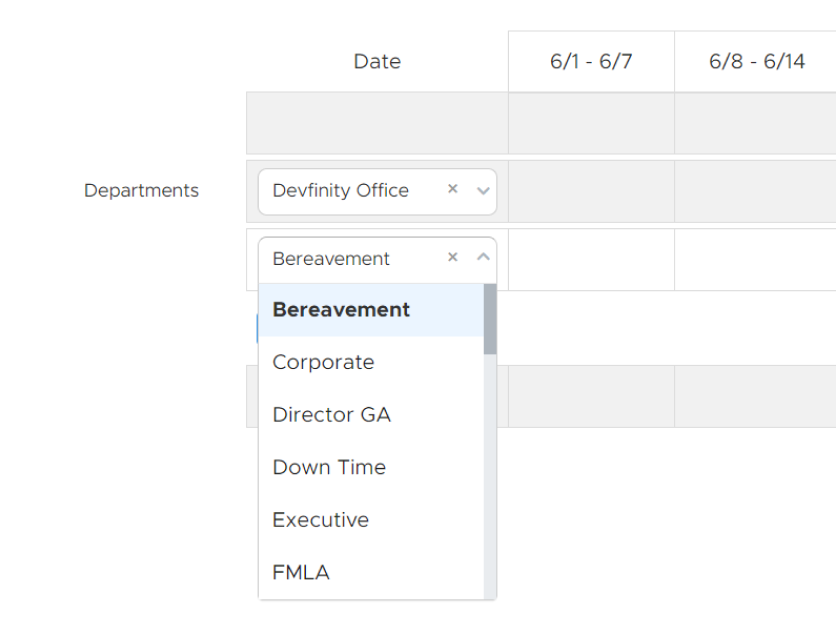
1. Select Account or Department
- Click on + Add Account/Department.

- Choose to add an account (client) or a department (internal entity) for time forecasting. Use the dropdown menu or search function to find and select the appropriate account or department.
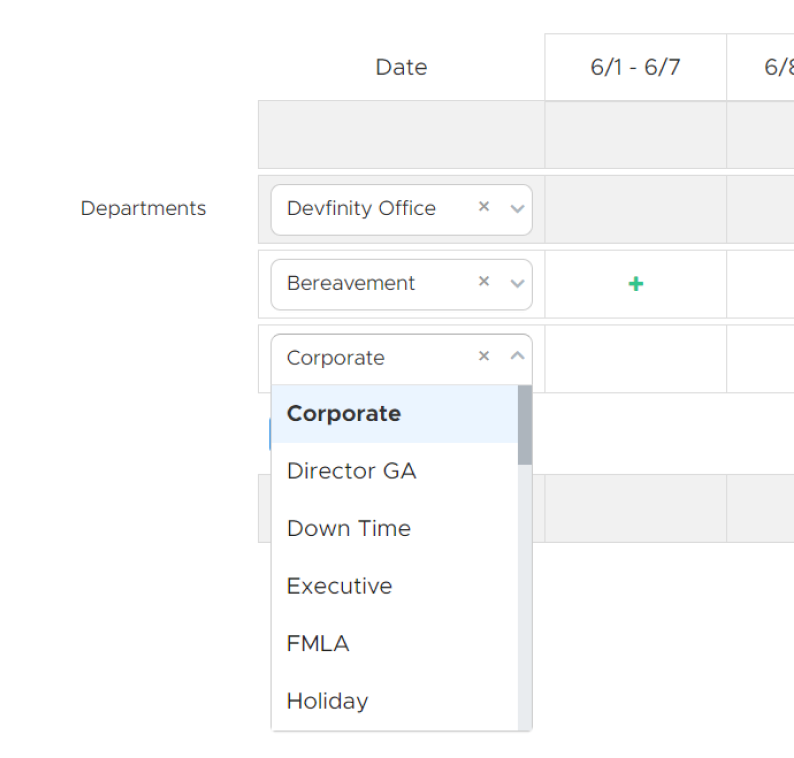
2. Select TE Code
- Click on Add TE to select a Code.
- You can choose any TE Code that you have assigned to the respective accounts and departments.
3. Add Hours for Projection
- Double-click on the time slot to the right of the TE Code and enter the projected time.
- Click off the table to auto-save the entry.
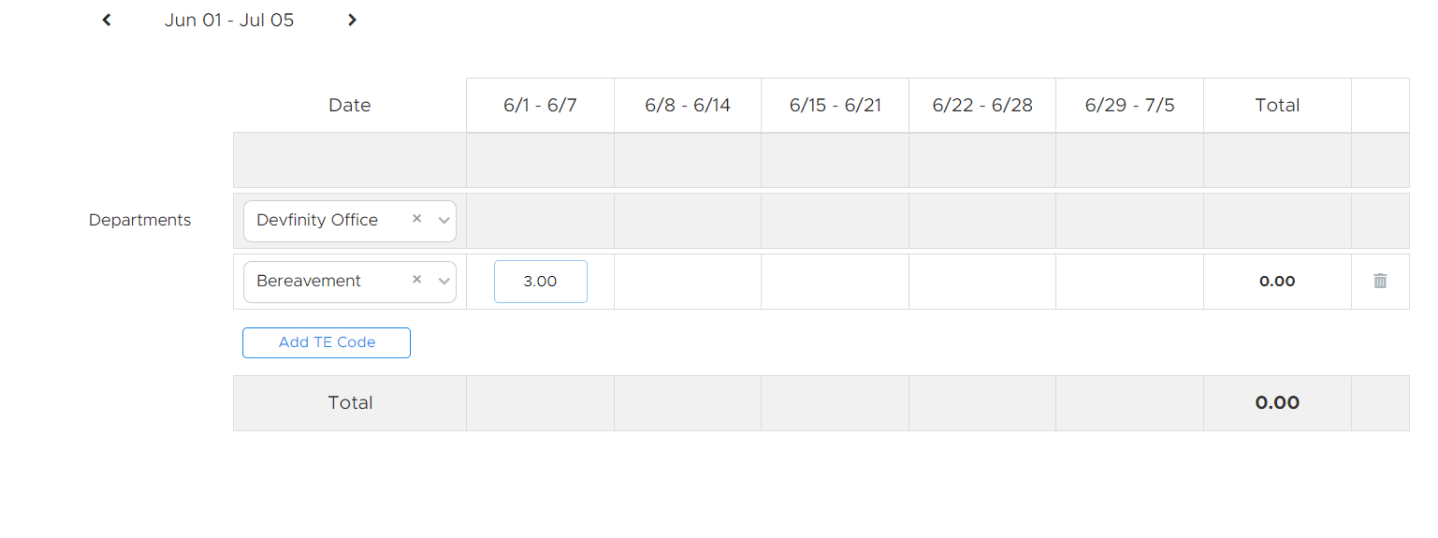
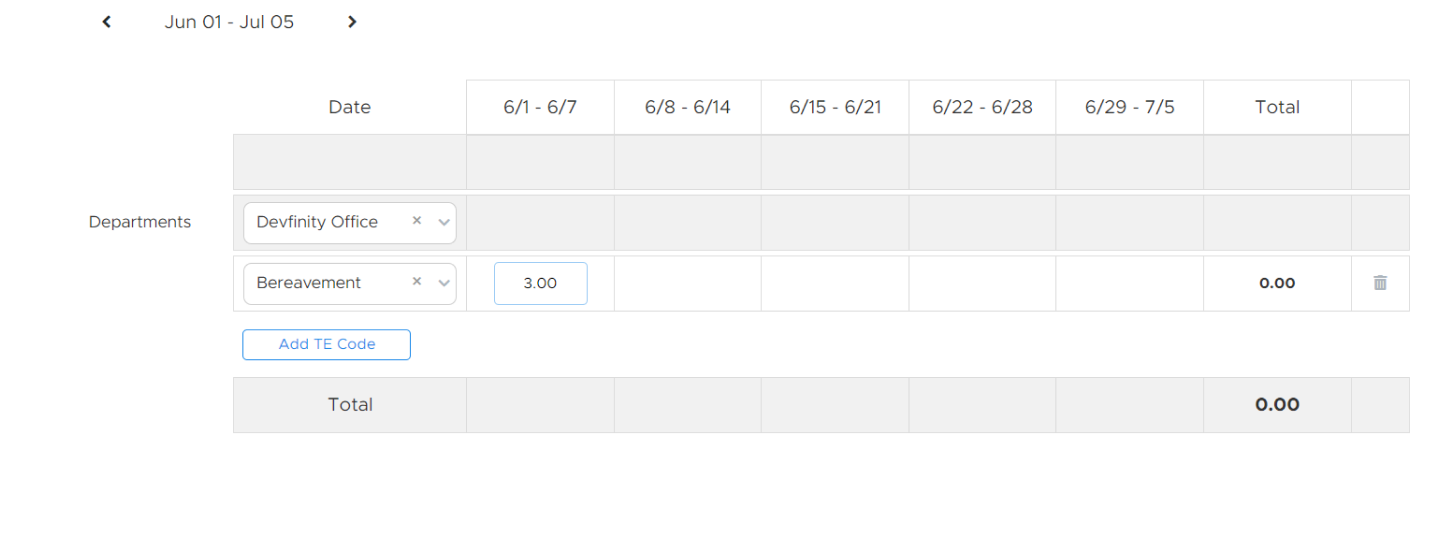
Time Forecast Complete!
To make any changes to a forecast, you can click on entries to edit them or click on the trash can icon to the right of an entry to remove it.
Frequently Asked Questions (FAQs)
The FAQ section is designed to address common questions about managing Time Forecasts in BizVue. From exporting your forecasts to understanding how far in advance you can project time, you’ll find quick answers here. For further assistance, contact our support team at support@support.bizvue.io.
Can I Export my Time Forecasts?
How far in advance can I do Time Forecasts?
Who should use Time Forecasts?
I have questions about Time Forecasts in BizVue, who do I reach out to if I have any questions?

This guide aims to provide a comprehensive understanding of time forecasts in BizVue. Follow these steps to efficiently organize expense entries.


